
How to create a clipping path in Photoshop?
Every person related to the image editing task should have a clear idea about Clipping Path. But unfortunately, most of us do not have the right idea about this. That’s why we can’t take advantage of the clipping path service. But hopefully, you don’t have to be tense about this. Cause you are at the perfect place now. In this article, I will show you all the essential information on how to draw a path in Photoshop.
What is Clipping Path?
The first thing you need to know is the definition of clipping path. In a word, the clipping path is the method of separating a particular object from its original background. The operation is performed by creating a vector path around the object. After selecting the object by drawing a path, the background is removed or changed.
Importance of Clipping Path Service in the Digital World:
In the digital world, can you show me where pictures are not used? The use of images is noticeable not only in our virtual life but also in real life. Images are being used equally everywhere. But in the case of using images everywhere, you have to maintain some requirements. For example, sometimes photography requires photo editing in post-production services. Also, uploading the photos on websites need to maintain some condition. In these cases, the clipping path comes first among the services. So you have to know in detail about the clipping path service for your image editing tasks. Otherwise, you need to search for the best clipping path service provider like CPS Inc.
The Process of Creating Path:
It’s not so tough to create a clipping path in Photoshop. However, there is one tool that you have to learn to control to do clipping, and that is the pen tool. So now, let me show you step by step how you can create a clipping path in Adobe Photoshop.
Step 1: Open file
Install photoshop on your pc and open the file in Photoshop.
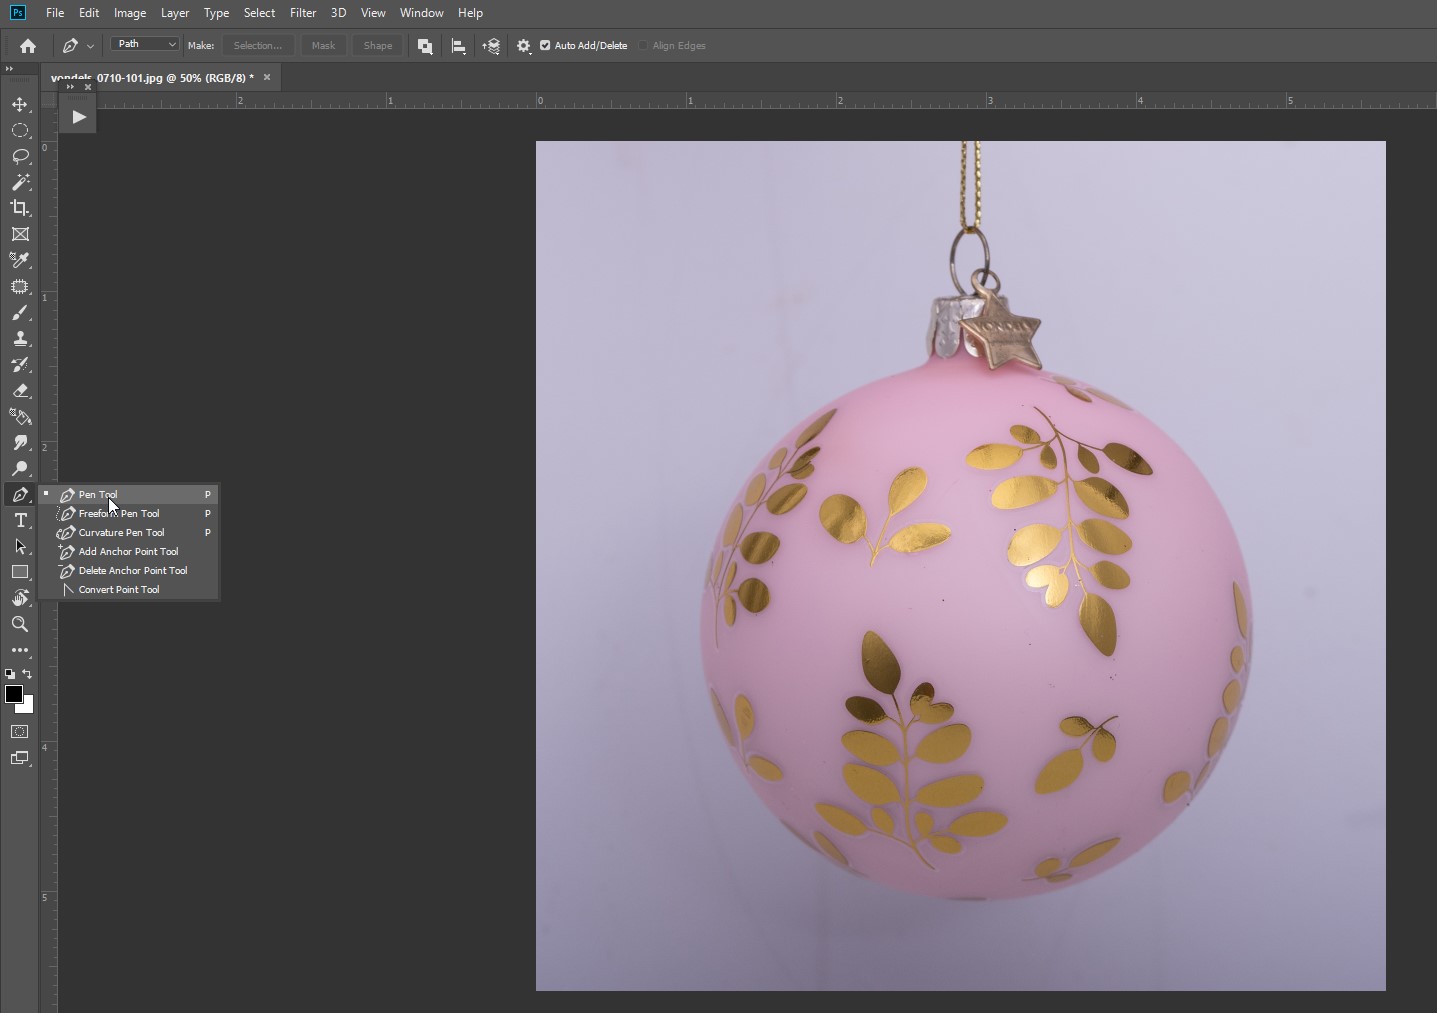
Step 2: Pick pen tool
Then, go to the toolbar menu and select the pen tool.
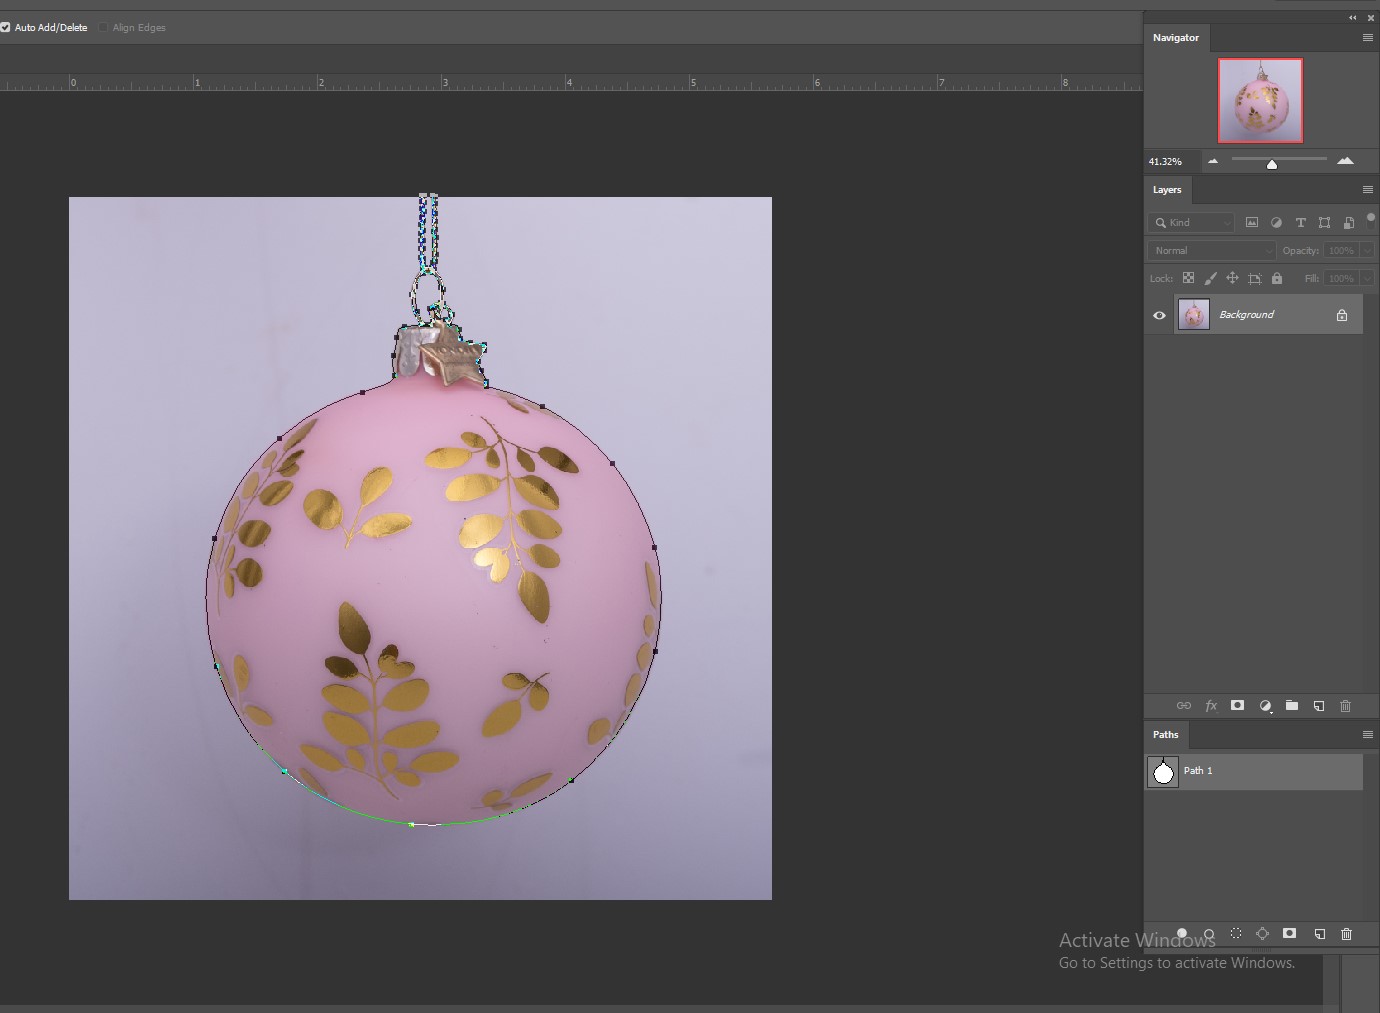
Step 3: Create Anchor Points
After taking the pen tool, you first have to zoom your image to see the edges clearly. You should keep it around 300%. It will help you to draw the path accurately. Now, start pointing at the edges of the object that you want to cut out. These points are called Anchor points. Keep going till you reach the starting point. When cutting off one object from another, you need to be cautious about the edges to give it a natural look. So mark as accurately as possible.
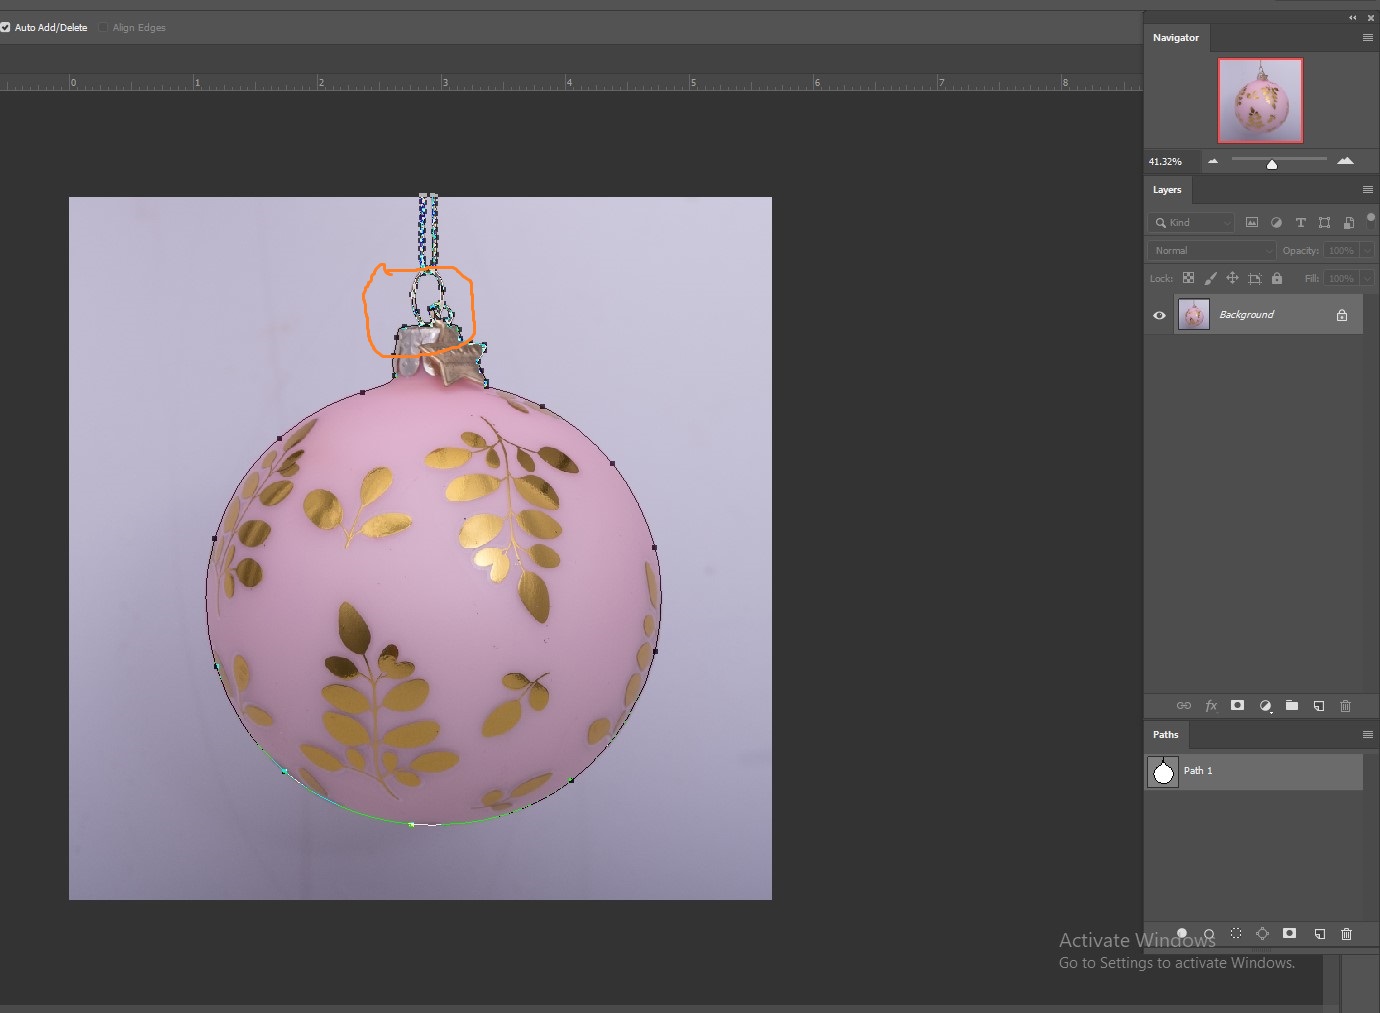
Step 4: Inside Path
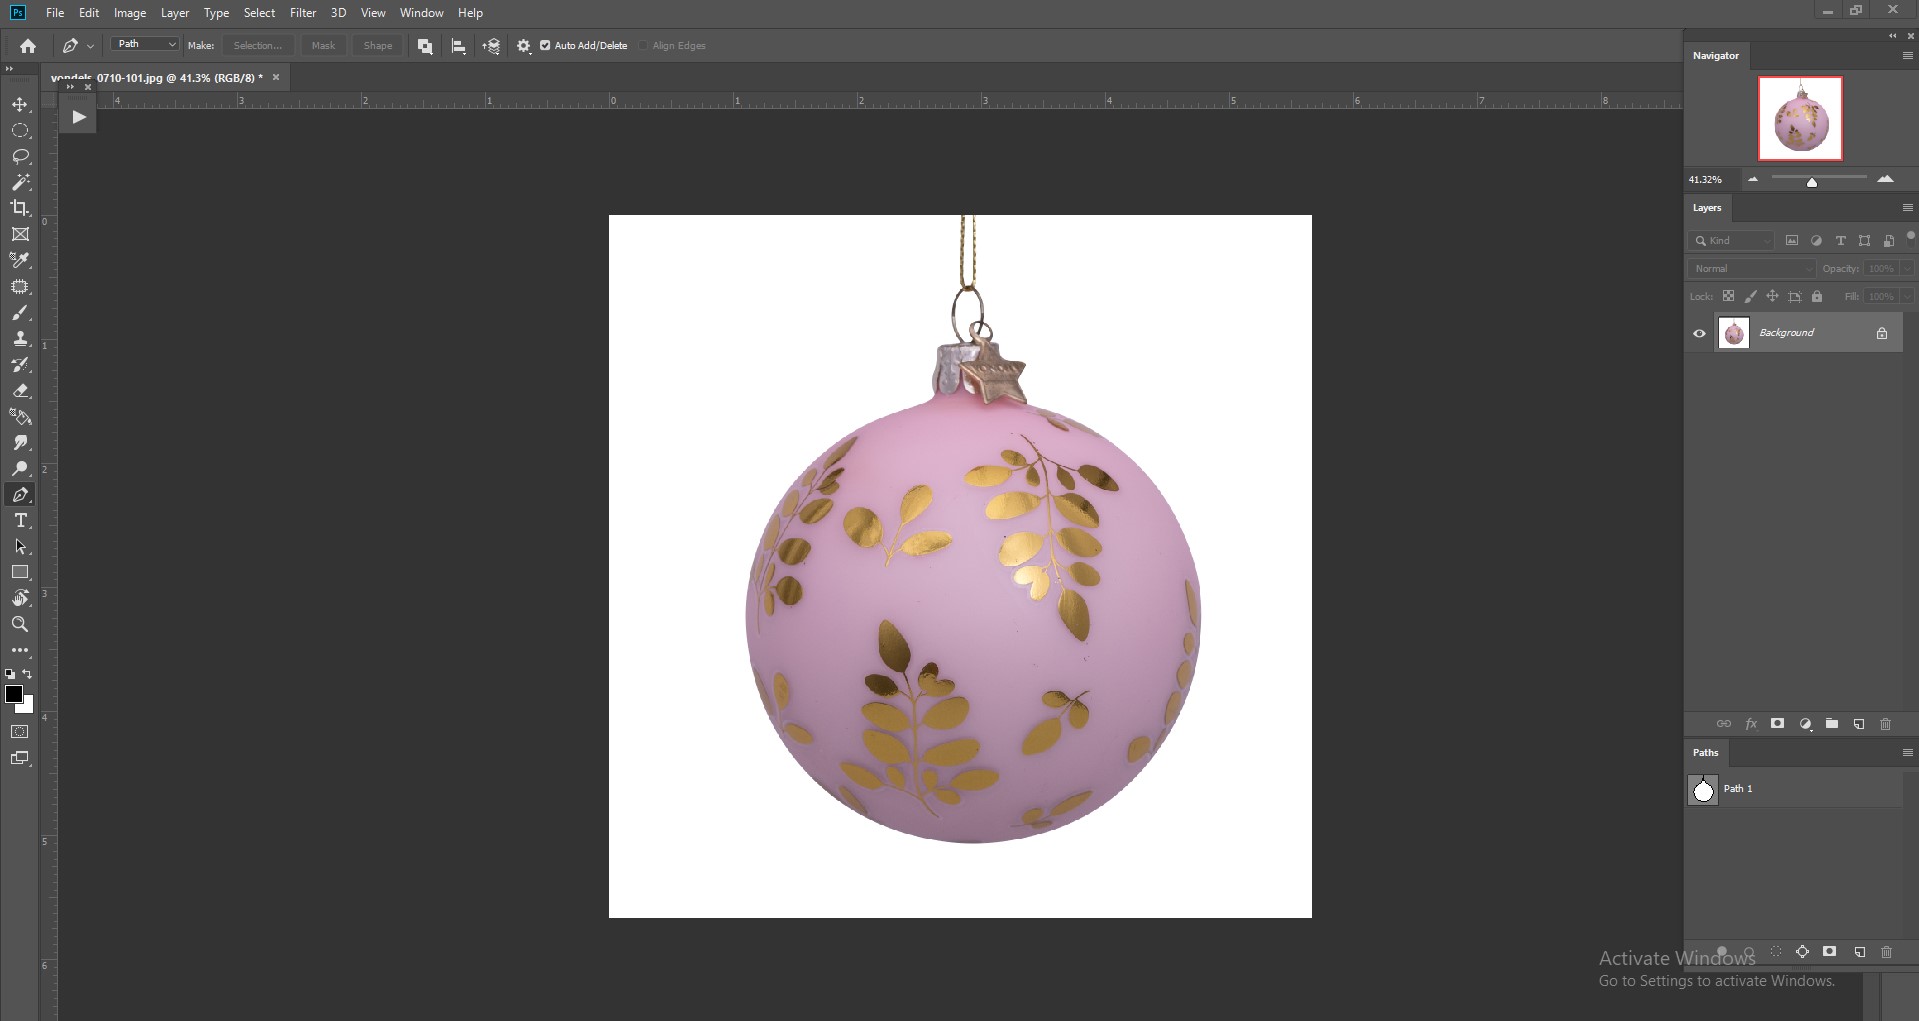
The image that I have taken has another empty space inside it. So we’ll have to create another path inside it.
Step 5: Save path
When you have done the marking, go to the layer panel and select the path tab. Then, go to the menu on the top of the left corner and choose the save path. And name the path as ‘Path 1‘.
Step 6: Clipping path
Go to the same menu bar and select Clipping Path.
A box will pop up that will show some options. For example, there is a box called Flatness. Flatness counts the closeness of the clipping path to the edge of the image. Thus, it determines the smoothness of the image.
If the value of the Flatness is increased, it makes the edge blur. Conversely, if the value is lesser, the edge will be smoother and sharper.
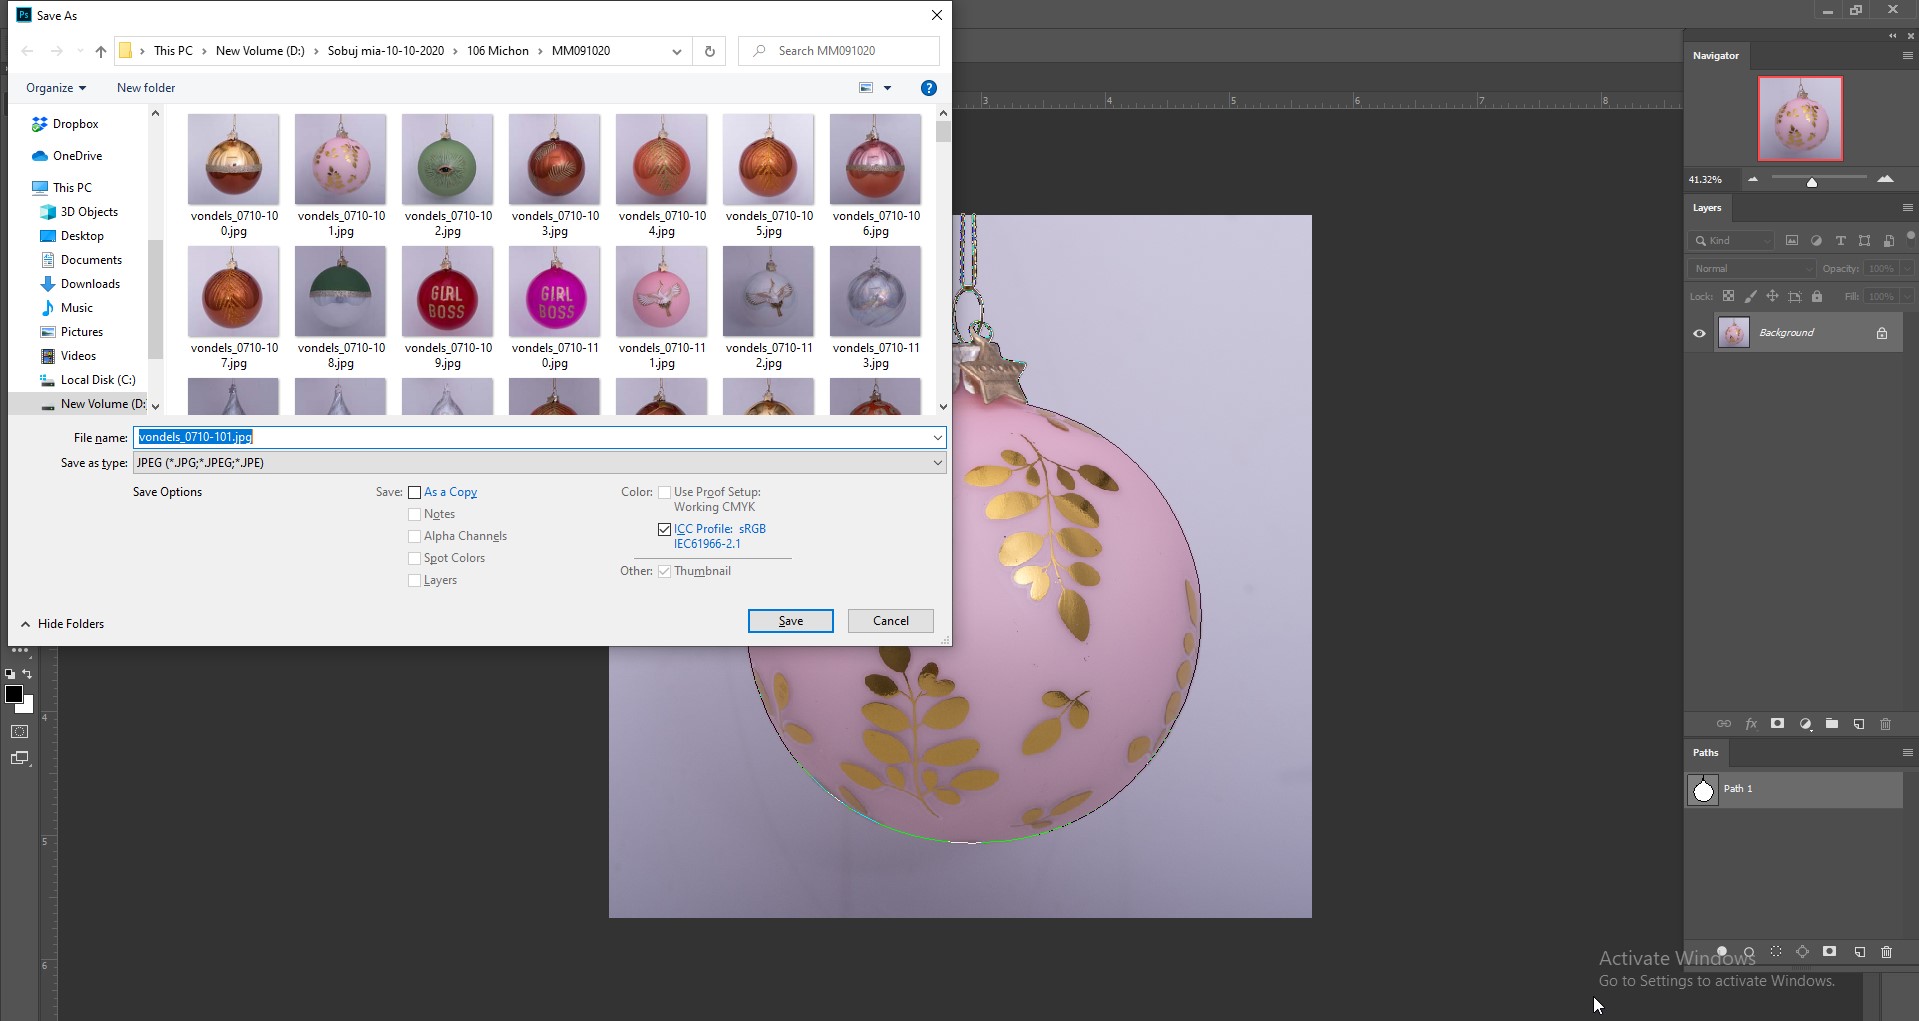
Step 7: Save your photo
Finally, save your image. You can use this file later to make any changes there. Or if you want, you can send it to someone else too, the path will be there, and they can use it according to their need.
Don’t forget to save the image in both formats, like PSD and JPEG files. It will give you access to use this image in whichever way you want.
Remove Background by a Click
After saving the image, you can use your image anytime for whatever change you need. For instance, you can change or remove the background from this image. Once you have done the clipping path, click on the right button of your mouse and click on ‘Make Selection.’
Then, add a layer mask and automatically, your background will change.
Why is clipping path service important for e-commerce image editing?
Ecommerce business relies mostly on product photography. While buying a product, 75% or above of the customer depends on product images. Also, getting a product that is not like the picture is a big reason to return a product.
Post-production service is a must while doing product photography. Knowing how to create clipping paths in Photoshop is one of the most important things for you as a product photographer. It is the starter of post-processing in product photography.
Some of the most important post-processing tasks for product photography are removing or changing the background, adding drop shadow, color correction, product image retouching, etc. Whichever of these you do, you should have to know how to create clipping paths in Photoshop. Of course, if doing the clipping is not perfect, the rest of any editing will be affected.
Final Thoughts
High-quality product photos with beautiful light and color are the connecting point between sellers and buyers. Customers will only agree to buy your product if the product images convince them to do so. Not that it is the only determinator, but this is the first impression. Outstanding product photos not just boost sales of your product but also help gain the customers’ trust, which ensures the customers’ return and establishes a brand value. So maintaining the quality of images is a big challenge for any company in the eCommerce sector. Without creating an accurate clipping path in photoshop, you won’t get your other edits perfect too. Quality images must require standard editing. It is important to take good pictures of the product, as well as to edit the product photos nicely. Do not compromise in these cases because it is a question of your reputation.
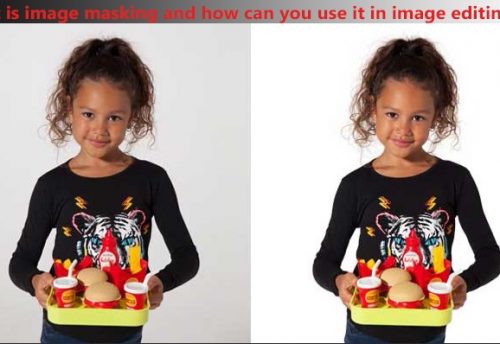
Learn More: How To Create Image Masking In Photoshop?




Leave a Comment
You must be logged in to post a comment.